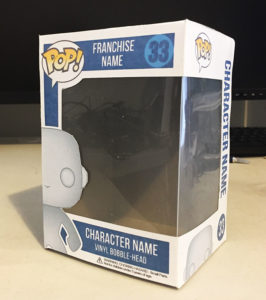
How To Make and Assemble Your Own Custom A4 Pop Box

Custom A4 Pop Box

Custom-pop-box

Firstly, if you haven’t done so already, download our FREE Custom A4 Pop Box Template (Zip File) by Clicking the link below:

A4-Custom-Pop-Box-Template.zip (165989 downloads )


Open up the zip folder and you will see the three Photoshop templates, and the Bebas Neue font file. Install the font if you don’t already have it. Now open up the individual Photoshop files and make the adjustments to suit your custom Pop requirements. If you don’t have Photoshop, you can download a free unrestricted 30 day trial HERE from Adobe.com. Photoshop is pretty complex, but thankfully there are thousands of tutorials online and on Youtube. Being able to use it is a great skill to have, and I encourage you to spend the time, dive in, and watch some How To Videos on Youtube.

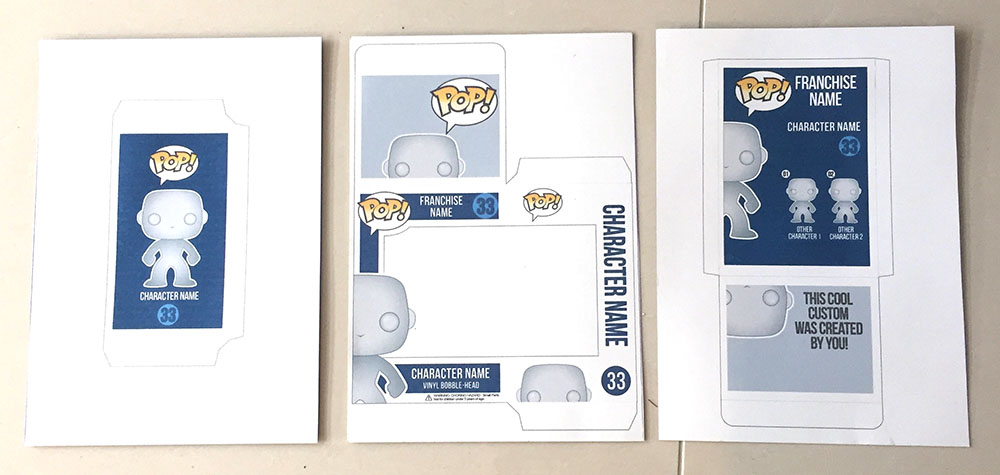
Assembling the box is easy. Once you have made your adjustments in Photoshop, it’s time to print out all of the pieces onto some A4 white cardboard sheets or some thick glossy photo paper stock.

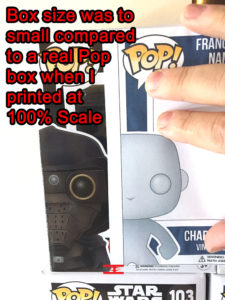
**NOTE** – All printers have different margin capabilities, so printing the template at 100% may not produce a correctly sized box. You will have to experiment by printing a panel, and then comparing to a real Pop Box, and adjust the print size until it matches. If it is to small, Adjust the print size to 101% or 102% and try again until you get it right.

a4-pop-box-print-1

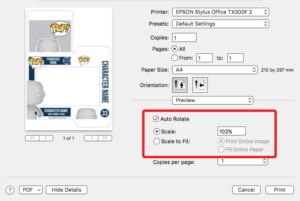
My first test print was to small as you can see, so I scaled the print size to 102% in the Print Settings Dialogue box.

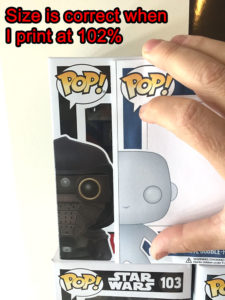
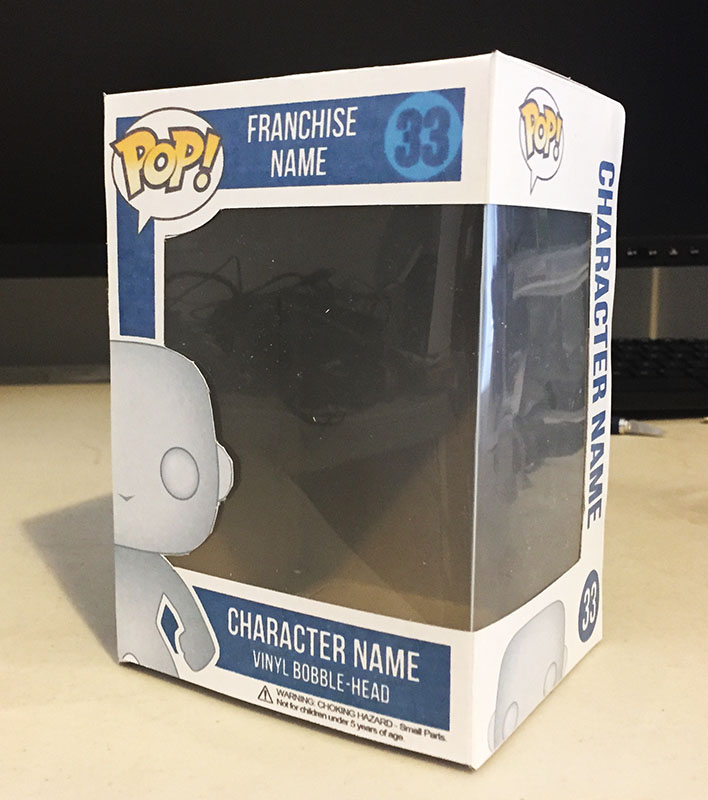
I was then able to print out the box at the correct dimensions, exactly the same size as a real Pop box.

a4-pop-box-print-2

Once your template has printed correctly, its time to cut it out.

custom-a4-funko-box-pieces-printed

I found using a hobby scalpel and a metal ruler gives me the cleanest edges and corners. I also found that cutting ever so slightly on the inside of the cut out lines makes the box look cleaner, as the cutout lines will no longer be visible.
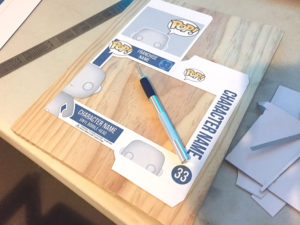
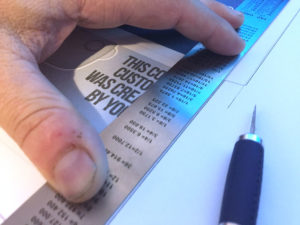
Custom Box Cutout  Custom Box Cutout

Once everything is cut out on the first piece, continue cutting out all three parts of the template.

Custom Box Cutout

Once all parts have been cut out, It is time to start assembling the box.
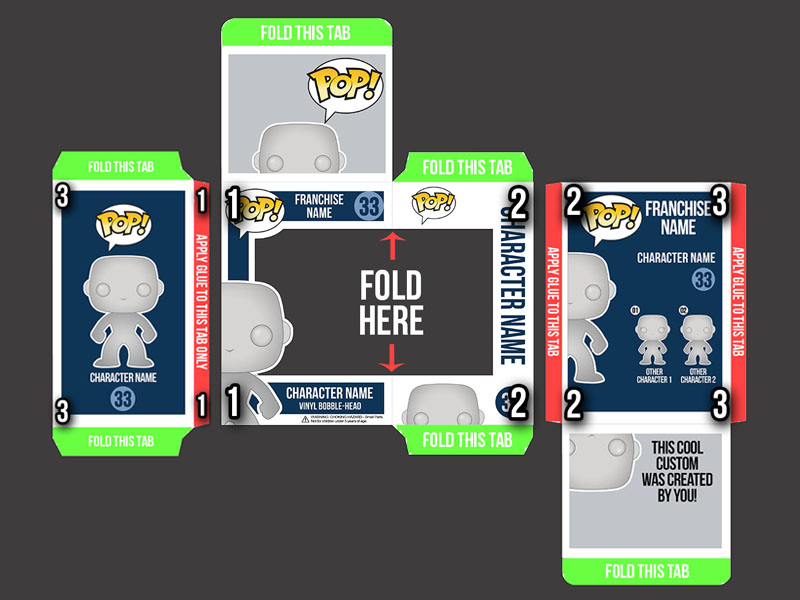
a4-box-assembly-instructions

Begin by folding the tabs. It is much easier to do it now than later. You might be asking how you will be able to see the folding lines because you have to fold the box from the backside. The Answer is simple, fold it toward the front first, and then fold the tabs back to the inside of the box. I have found that much sharper folds can be achieved by using a ruler.
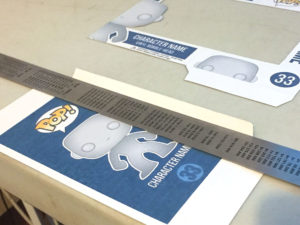
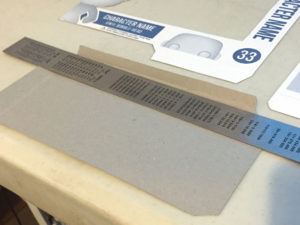
Custom Box Folding  Custom Box Folding

Once you have completed folding all of the pieces, you are ready to insert the window. Obviously the window from unused Pop box is best, but if you don’t have a spare one fear not, there are other options. I found a small document pouch at the local stationary store which was a perfect donor for the plastic window. I then cut it to size, leaving room at the end for the other pieces to be glued, put the fold in it at the appropriate position, and taped it into place at the locations shown in the below picture using clear sticking tape. It is important to fold the window before taping it into the box template as it will make the corner crisper and sharper.
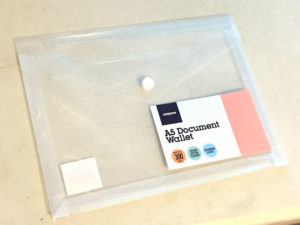
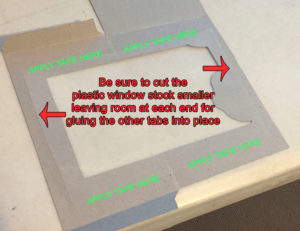
  Installing Window

Now that the window is place, you can start gluing it all together. The glue I use comes from a scrapbook shop, and is designed so as not to make the paper ripple.

Apply a small bead of glue to tab 1, and attach it to the front section of the box on the inside completing the first joint (Marked by number 1’s in the above construction diagram). Allow it adequate time to dry. I know its tough to resist the temptation to charge ahead, but you really do need to let the glue dry before moving on. Once it is in place you can also apply a strip of clear tape over the joint to help strengthen it, and to also secure the edge of the clear plastic window panel.
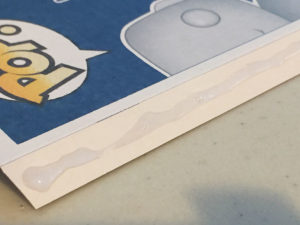
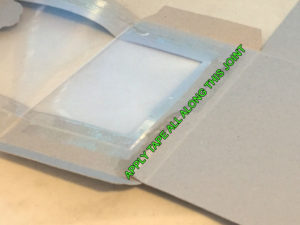
Glue  Apply Tape To Joint

Once dry, apply glue to tab 2, and make the second joint, again giving it enough of time to dry. Once dry, apply some clear tape here as well.

Almost A Complete custom pop box

Then, apply glue to tab 3 and complete joint 3. Tape it down as well for extra strength and your box assembly is complete. Once dry you can fold it all together.

Custom-pop-box

Easily Build Your Own Pop Vinyl Display Cabinet Case

Custom Funko Pop Vinyl Display Case

Pop Vinyl Display Case – Build Your Own Easily!

I really hate the way my Pop Vinyl’s look in bookshelves. They sit to far back, there is to much space between them, it just doesnt look right. So,heres how I built my own custom Pop Vinyl display case, that holds 96 Pops for under $60 AUD .

I went to Bunnings and found lengths of primed skirting board for $5.94 each. They are 270cm long, 92mm wide and 18mm thick. I purchased 7x lengths and had the guy at Bunnings cut them for me so they would fit in the car – This turned out to be a huge mistake, as the pieces I asked to be cut at 212cm came back just over 210cc, and the 100cm pieces came back a bit over 101cm. – YOU HAVE BEEN WARNED!

Skirting Board DetailsSkirting Board Details

Skirting Board Details

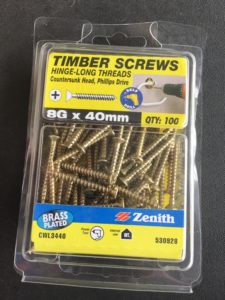
To screw it all together I got a pack of Zenith 40mm Timber Screws. These were $15 for 100, and I had more than half left over. These will come in handy for the second unit I intend to build.

Zenith 40mm Timber Screws

Zenith 40mm Timber Screws

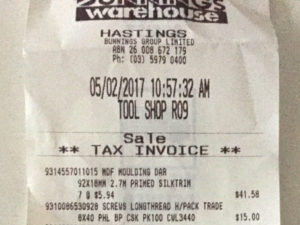
All up it cost me $56.58 AUD.

Bunnings Receipt

Bunnings ReceiptBunnings Receipt

WHAT YOU WILL NEED:

3x pieces skirting board at 212cm length
7x pieces skirting board at 100cm length
38x 40mm timber screws
Screwdriver (Or cordless drill with screw driver bit)
Drill Bit (slightly smaller than diameter of screws)

CONSTRUCTION:

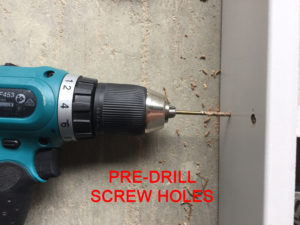
To begin, I started at the top. I screwed the two side pieces to the top piece. I pre-drilled the holes for the screws so the timber wouldn’t split.

Pre Drill Screw Holes

Pre Drill Screw Holes

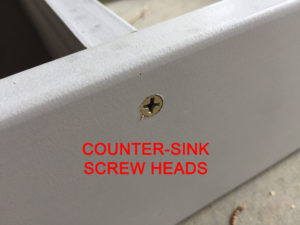
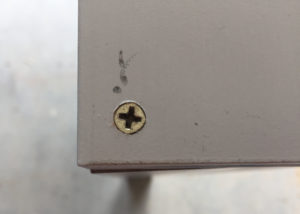
Make sure you drive the screws in a little lower than the surface of the timber so they don’t catch or scratch anything.

Counter Sink Screws

Counter Sink Screws

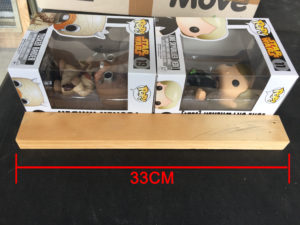
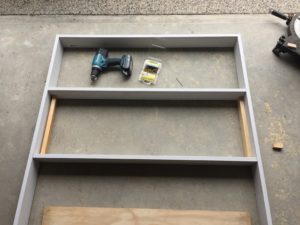
Then I cut some spacers from scrap timber to 33cm.

Shelve Distance Spacer

Shelve Distance Spacer

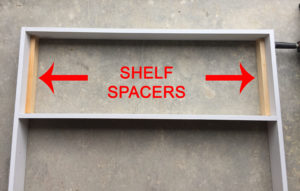
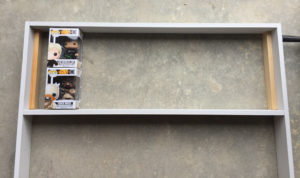
I chose this size as Pop boxes are 16cm high, and I decided to stack them two high on the shelves, leaving a centimetre wiggle room for pop protectors if fitted etc. I also chose to stack two high as a shelf for every row would make the case heavier, cost more, and be less efficient space wise. Then I put my spacers in between the top of the case and the top shelf.

Shelf Spacers

Shelf Spacers

One final check to make sure everything is right.

Always Check Twice

Always Check Twice

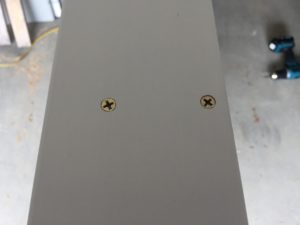
Then, I screwed in the top shelf. I used two screws per side.

Two Screws Per Side

Two Screws Per Side

Next, move the spacers down under the top shelf, position the next shelf and screw it into place.

Second Shelf Fitting

Second Shelf Fitting

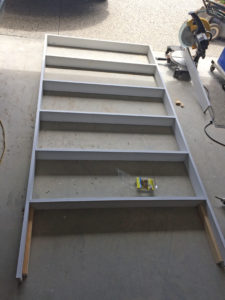
Repeat the process all the way down.

All Shelves In Place

All Shelves In Place

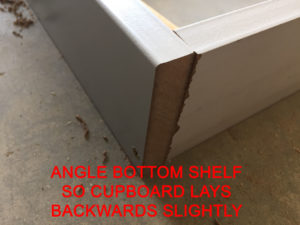
When it came time to fit the bottom shelf/base of the case, I decided to angle it ever so slightly so once in place, the entire unit leaned backwards a fraction. This is to stop it falling over and damaging the Pops (I’m not to concerned about kids or pets, as long as my Pops are ok 🙂

Angled Base

Angled Base

Another View

Side View Of Bottom Shelf/Cabinet Base

Side View Of Bottom Shelf/Cabinet Base

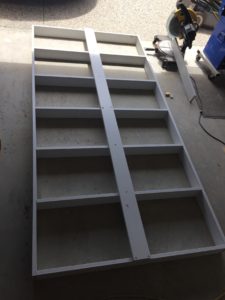
Next, to give the cabinet so rigidity, the third 212cm piece is screwed down the middle. This is also useful as an anchor point to secure the cabinet to a wall, so it doesn’t fall forward damaging your Pops (or again, pets and kids if thats your thing 🙂

Center Strut In Position

Center Strut In Position

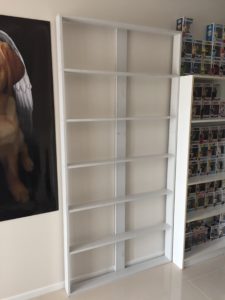
Now it is time to paint the cabinet if you choose to (Ahhh, thats why you got primed skirting board!). It turns out, I am quiet happy with the colour and quality of the primer so I just moved it into place as is.

Ready To Go

Ready To Go

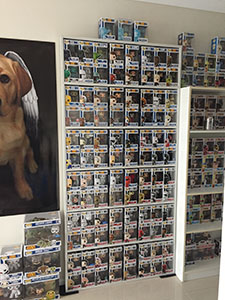
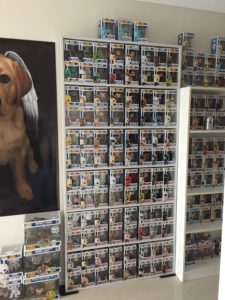
And here is the cabinet loaded with 96 Star Wars Pops, and a few on top for good measure.

Custom Funko Pop Vinyl Display Case

Custom Funko Pop Vinyl Display Case

All up, it took me about 60 minutes to build.