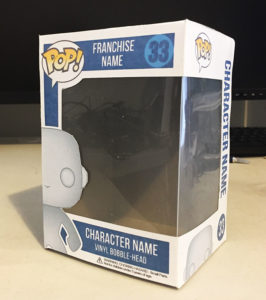
Custom A4 Pop Box
Firstly, if you haven’t done so already, download our FREE Custom A4 Pop Box Template (Zip File) by Clicking the link below:
A4-Custom-Pop-Box-Template.zip (274061 downloads )
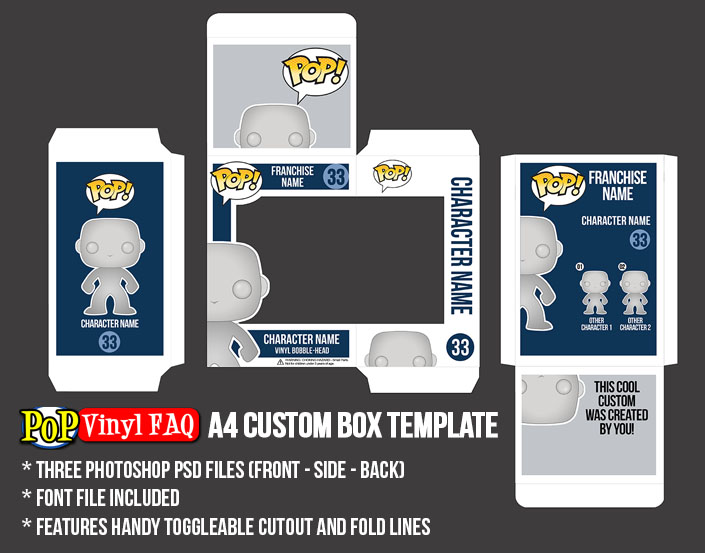
Open up the zip folder and you will see the three Photoshop templates, and the Bebas Neue font file. Install the font if you don’t already have it. Now open up the individual Photoshop files and make the adjustments to suit your custom Pop requirements. If you don’t have Photoshop, you can download a free unrestricted 30 day trial HERE from Adobe.com. Photoshop is pretty complex, but thankfully there are thousands of tutorials online and on Youtube. Being able to use it is a great skill to have, and I encourage you to spend the time, dive in, and watch some How To Videos on Youtube.
Assembling the box is easy. Once you have made your adjustments in Photoshop, it’s time to print out all of the pieces onto some A4 white cardboard sheets or some thick glossy photo paper stock.
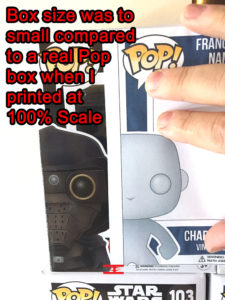
**NOTE** – All printers have different margin capabilities, so printing the template at 100% may not produce a correctly sized box. You will have to experiment by printing a panel, and then comparing to a real Pop Box, and adjust the print size until it matches. If it is to small, Adjust the print size to 101% or 102% and try again until you get it right.
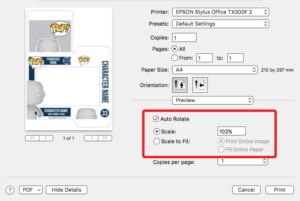
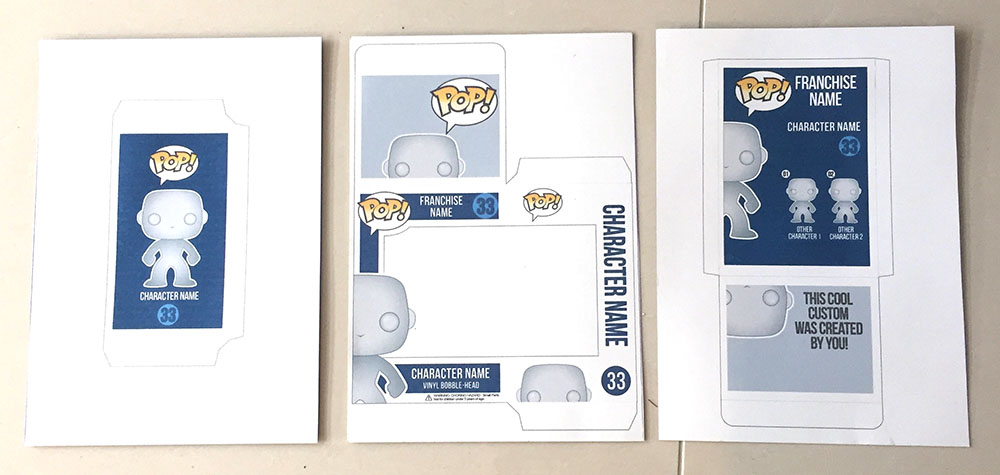
My first test print was to small as you can see, so I scaled the print size to 102% in the Print Settings Dialogue box.
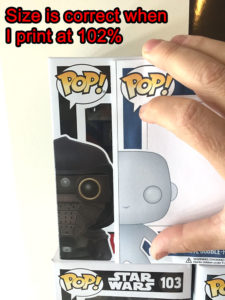
I was then able to print out the box at the correct dimensions, exactly the same size as a real Pop box.
Once your template has printed correctly, its time to cut it out.
I found using a hobby scalpel and a metal ruler gives me the cleanest edges and corners. I also found that cutting ever so slightly on the inside of the cut out lines makes the box look cleaner, as the cutout lines will no longer be visible.
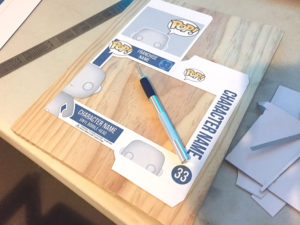
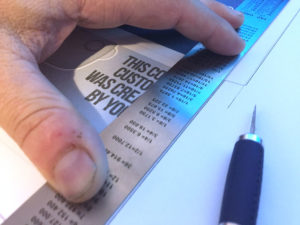
Once everything is cut out on the first piece, continue cutting out all three parts of the template.
Once all parts have been cut out, It is time to start assembling the box.
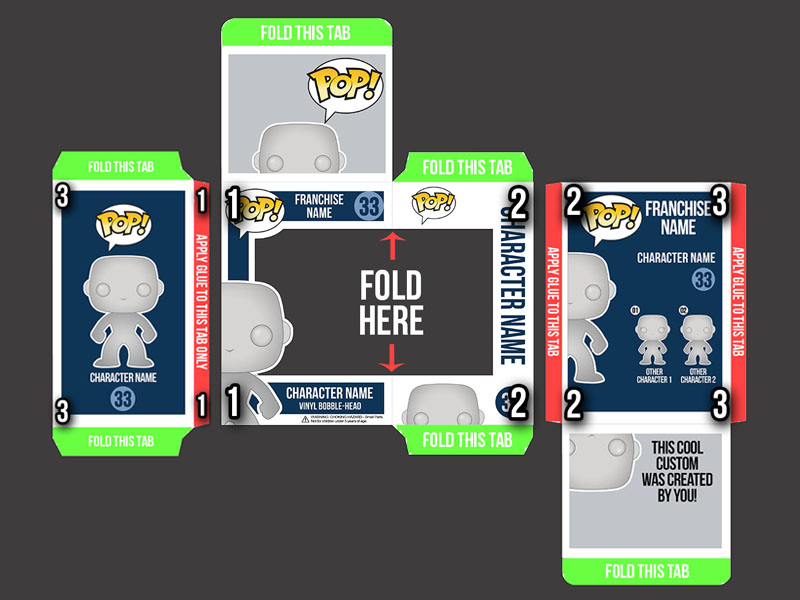
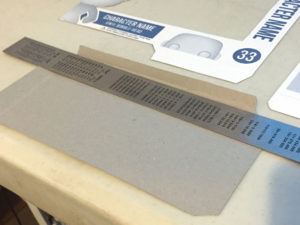
Begin by folding the tabs. It is much easier to do it now than later. You might be asking how you will be able to see the folding lines because you have to fold the box from the backside. The Answer is simple, fold it toward the front first, and then fold the tabs back to the inside of the box. I have found that much sharper folds can be achieved by using a ruler.
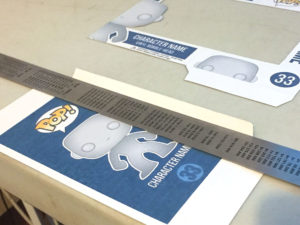

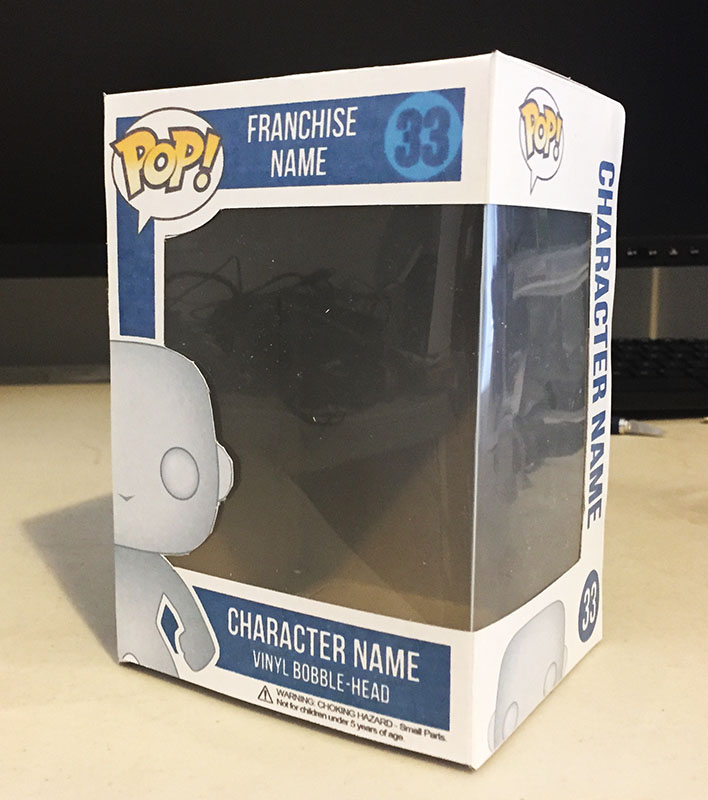
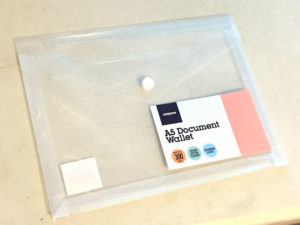
Once you have completed folding all of the pieces, you are ready to insert the window. Obviously the window from unused Pop box is best, but if you don’t have a spare one fear not, there are other options. I found a small document pouch at the local stationary store which was a perfect donor for the plastic window. I then cut it to size, leaving room at the end for the other pieces to be glued, put the fold in it at the appropriate position, and taped it into place at the locations shown in the below picture using clear sticking tape. It is important to fold the window before taping it into the box template as it will make the corner crisper and sharper.
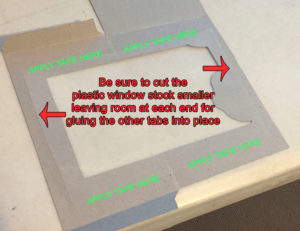
Now that the window is place, you can start gluing it all together. The glue I use comes from a scrapbook shop, and is designed so as not to make the paper ripple.
Apply a small bead of glue to tab 1, and attach it to the front section of the box on the inside completing the first joint (Marked by number 1’s in the above construction diagram). Allow it adequate time to dry. I know its tough to resist the temptation to charge ahead, but you really do need to let the glue dry before moving on. Once it is in place you can also apply a strip of clear tape over the joint to help strengthen it, and to also secure the edge of the clear plastic window panel.
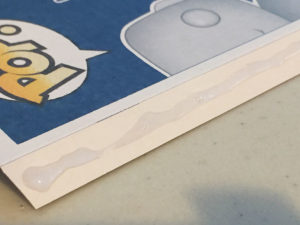
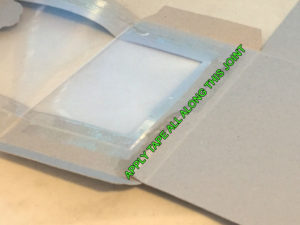
Once dry, apply glue to tab 2, and make the second joint, again giving it enough of time to dry. Once dry, apply some clear tape here as well.
Then, apply glue to tab 3 and complete joint 3. Tape it down as well for extra strength and your box assembly is complete. Once dry you can fold it all together.

