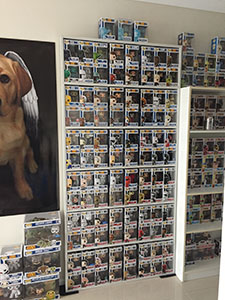
Pop Vinyl Display Case – Build Your Own Easily!
I really hate the way my Pop Vinyl’s look in bookshelves. They sit to far back, there is to much space between them, it just doesnt look right. So,heres how I built my own custom Pop Vinyl display case, that holds 96 Pops for under $60 AUD .
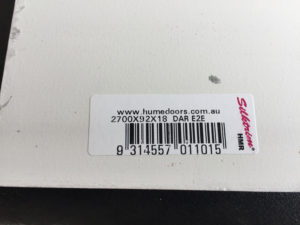
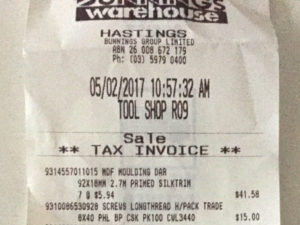
I went to Bunnings and found lengths of primed skirting board for $5.94 each. They are 270cm long, 92mm wide and 18mm thick. I purchased 7x lengths and had the guy at Bunnings cut them for me so they would fit in the car – This turned out to be a huge mistake, as the pieces I asked to be cut at 212cm came back just over 210cc, and the 100cm pieces came back a bit over 101cm. – YOU HAVE BEEN WARNED!
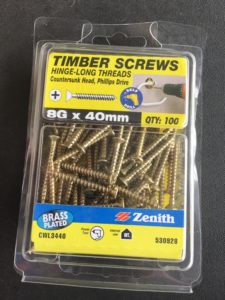
To screw it all together I got a pack of Zenith 40mm Timber Screws. These were $15 for 100, and I had more than half left over. These will come in handy for the second unit I intend to build.
All up it cost me $56.58 AUD.
WHAT YOU WILL NEED:
3x pieces skirting board at 212cm length
7x pieces skirting board at 100cm length
38x 40mm timber screws
Screwdriver (Or cordless drill with screw driver bit)
Drill Bit (slightly smaller than diameter of screws)
CONSTRUCTION:
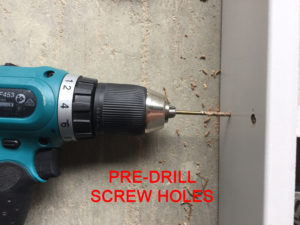
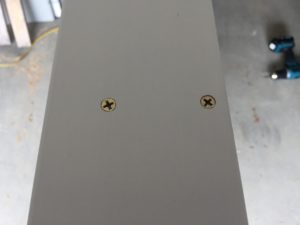
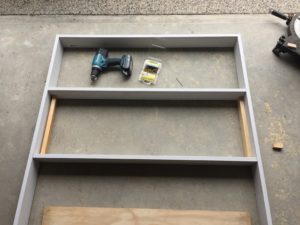
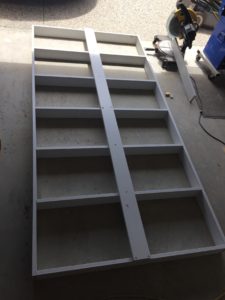
To begin, I started at the top. I screwed the two side pieces to the top piece. I pre-drilled the holes for the screws so the timber wouldn’t split.
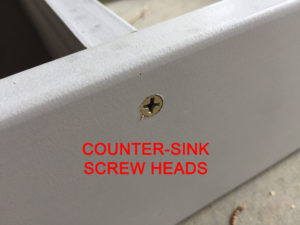
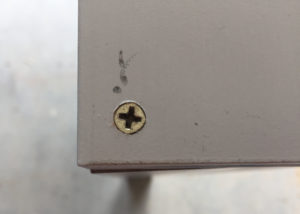
Make sure you drive the screws in a little lower than the surface of the timber so they don’t catch or scratch anything.
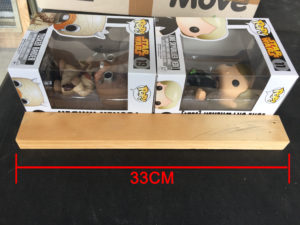
Then I cut some spacers from scrap timber to 33cm.
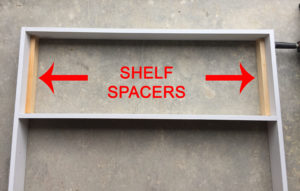
I chose this size as Pop boxes are 16cm high, and I decided to stack them two high on the shelves, leaving a centimetre wiggle room for pop protectors if fitted etc. I also chose to stack two high as a shelf for every row would make the case heavier, cost more, and be less efficient space wise. Then I put my spacers in between the top of the case and the top shelf.
One final check to make sure everything is right.
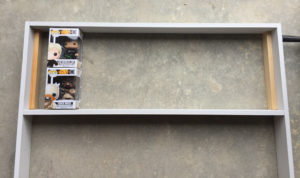
Then, I screwed in the top shelf. I used two screws per side.
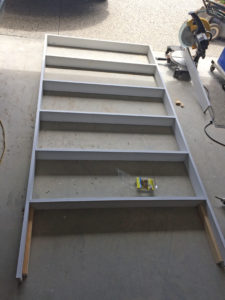
Next, move the spacers down under the top shelf, position the next shelf and screw it into place.
Repeat the process all the way down.
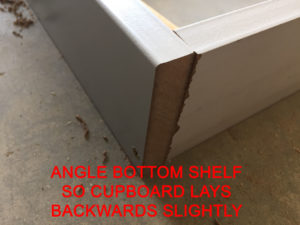
When it came time to fit the bottom shelf/base of the case, I decided to angle it ever so slightly so once in place, the entire unit leaned backwards a fraction. This is to stop it falling over and damaging the Pops (I’m not to concerned about kids or pets, as long as my Pops are ok 🙂
Another View
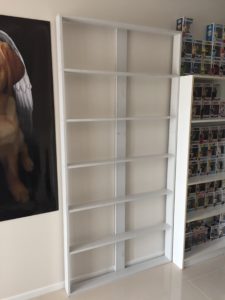
Next, to give the cabinet so rigidity, the third 212cm piece is screwed down the middle. This is also useful as an anchor point to secure the cabinet to a wall, so it doesn’t fall forward damaging your Pops (or again, pets and kids if thats your thing 🙂
Now it is time to paint the cabinet if you choose to (Ahhh, thats why you got primed skirting board!). It turns out, I am quiet happy with the colour and quality of the primer so I just moved it into place as is.
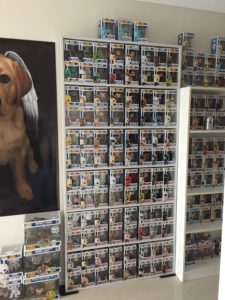
And here is the cabinet loaded with 96 Star Wars Pops, and a few on top for good measure.
All up, it took me about 60 minutes to build.

